Education
The vos-projets education space is a subset of our vos-projets space for an educational institution. This space provides your institution with the following features:
- a Forum
- a Job Listing area
- in-app messaging between your users
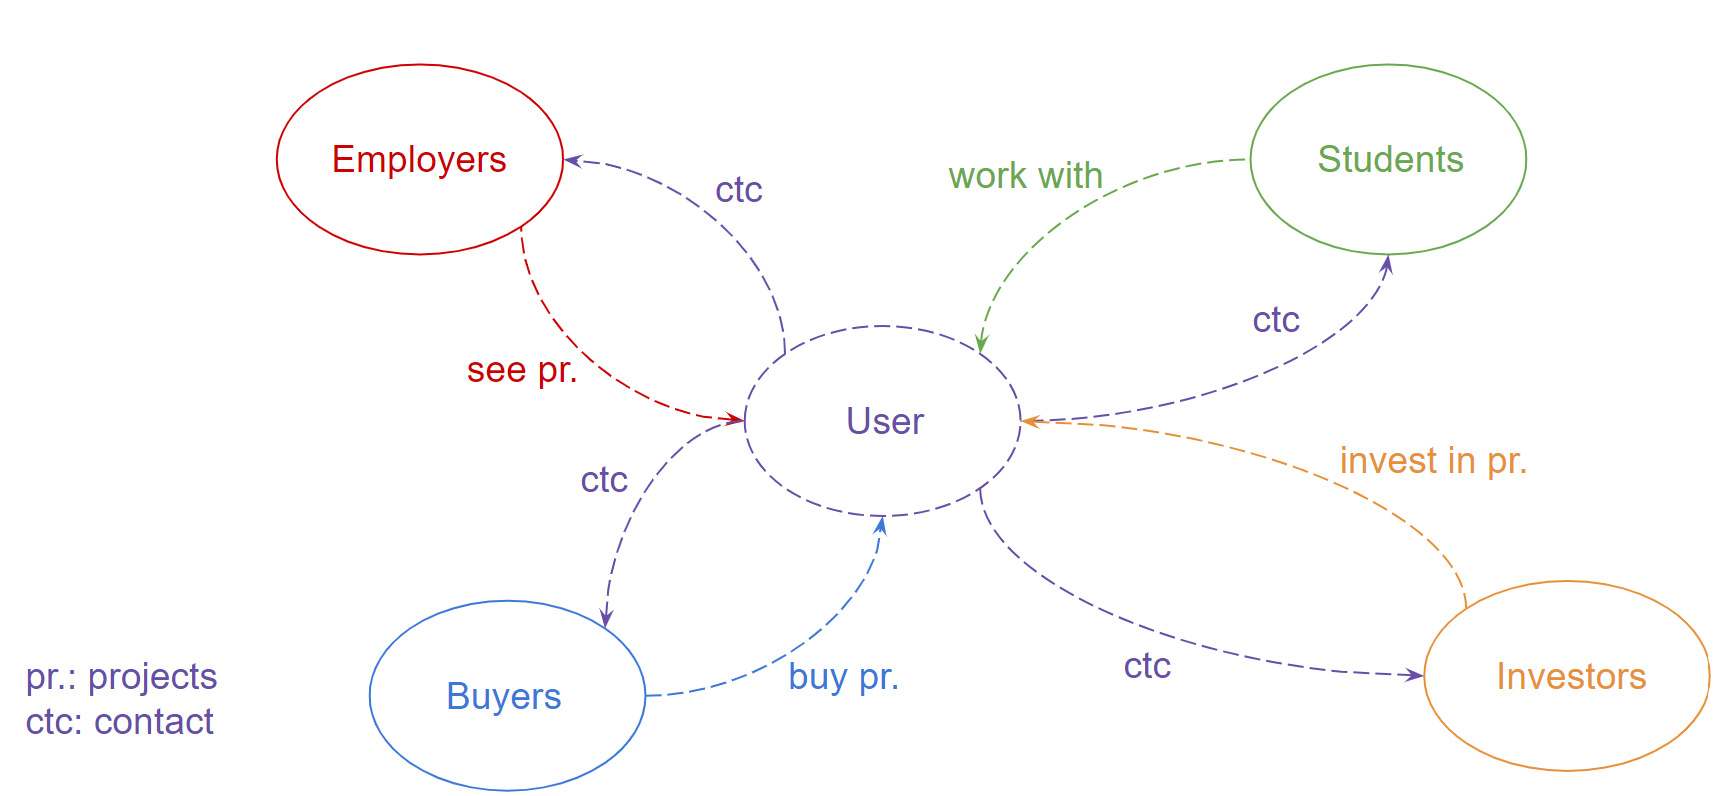
Why using our product for your institution?
By integrating our system in your institution, we are aiming to provide the following values to your institution:
- Your students can find partners for their projects on the platform within your institution.
- The employers tied to your institution can post internship opportunities for your students in your dedicated vos-projets space.
- Your students can apply for the job positions posted by your employer.
- The employers tied to your institution can manage the job applications of your students directly from our space.
- The students and employers can interact with each other through direct messages.
Account Setup
When you request a dedicated vos-projets space with us, our company provides you with a dedicated subdomain for your institution:
{your_institution}.stuntbusiness.{domain_extension}
{your_institution} is a url segment uniquely representing your institution in our space. As an example, the vos-projets for the University of Kinshasa would have the segment of the institution set to unikin depending on the availabilities and therefore resulting in the following website URL:
unikin.stuntbusiness.{domain_extension}
The default {domain_extension} is .ca for our products. The {domain_extension} would be set to .cd in DRC for example.
Understanding the features of the vos-projets space for your institution
Forum
- The post describes how our forum can be used under our vos-projets space.
- Within your institution, your admins are in control of the categories that can be used by your students and your employers.
Job Listing area
- Your employers are able to post the job opportunities within your institution that will be visible under the tab “browse jobs” of your project area
- Your students can browse the available job positions from the above tab.
- Your employers can manage the job applications of the candidates and provide feedback to your students directly from the platform.
In-app messaging between your users
- The users within your institution can send direct messages to each other.
Dedicated admin panel
- A dedicated admin panel is available for the designated admins of your institutions.
- The information tied to your institution can be directly managed from your dedicated admin panel.
- Plan information: the information regarding your plan can be seen from this tab.
- Setup invites: The setup invite of your users can be individually sent from this tab.
- Students: The setup invite of your students can be sent from this tab using a CSV.
- Forum: The channels of your forum can be added and updated from this tab.
- Project Categories: The categories of the project can be added and updated from this tab.
- Settings: The logo of your institution, the image for your login page and the image of your forum header can be updated from this view.
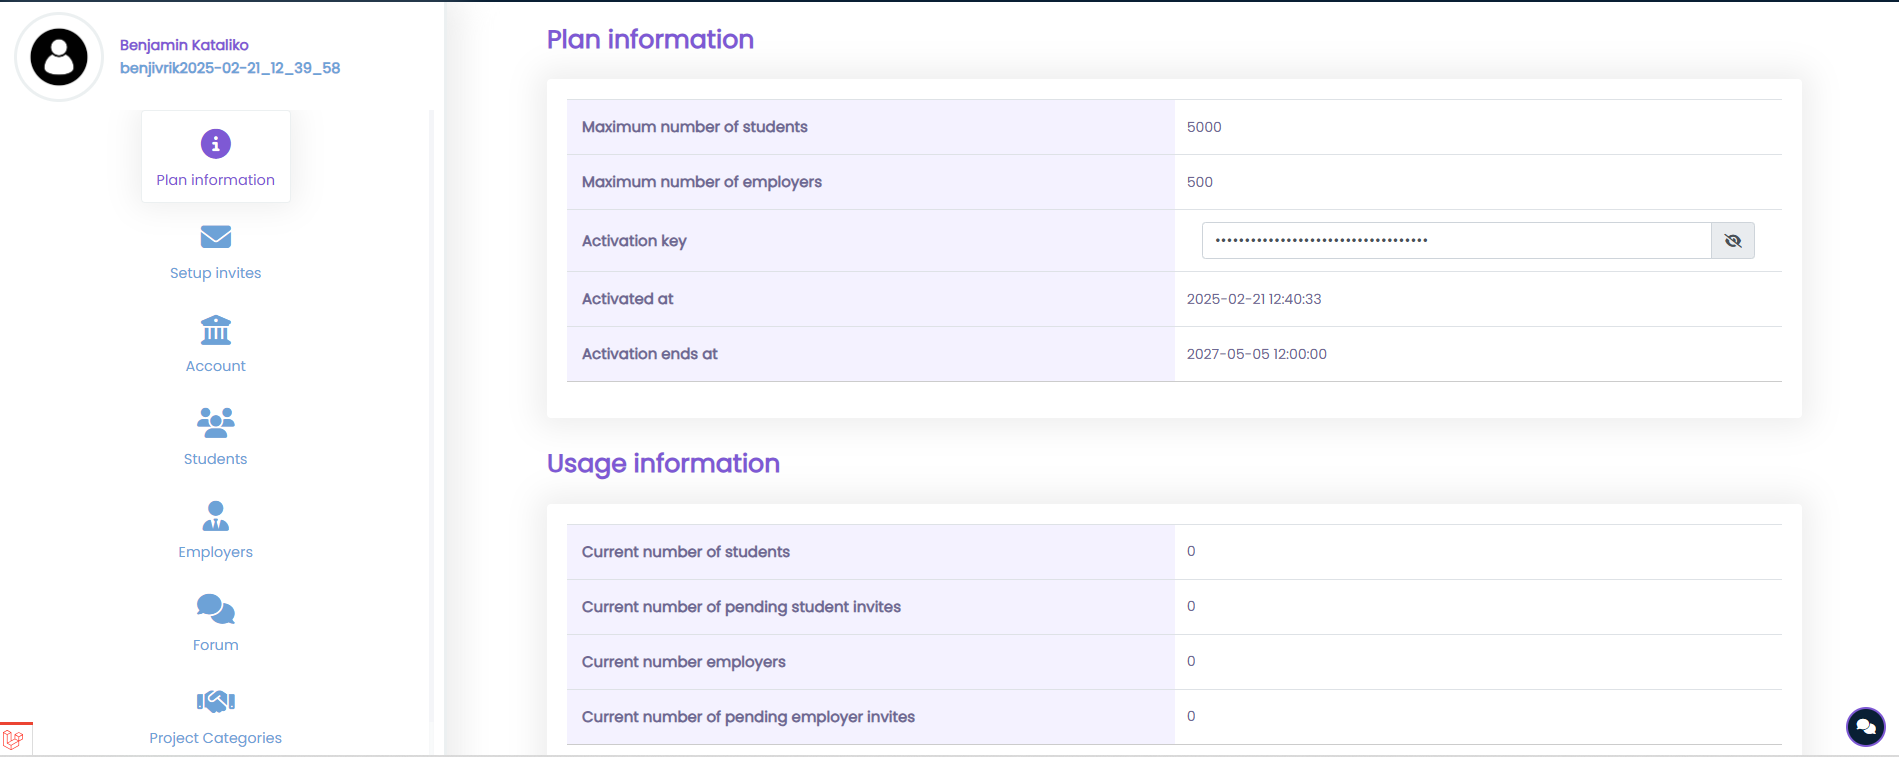
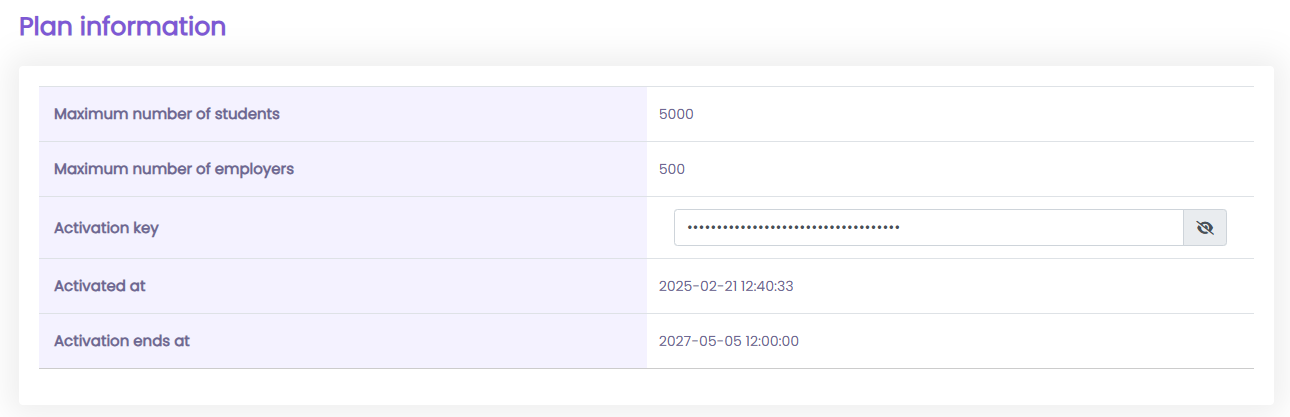
The tab “Plan information” of your admin panel
The information regarding your plan can be seen from this tab. This view includes two tables “Plan information” and “Usage information”.
- Plan information: The table includes the information regarding the maximum number of students and the maximum number of employers that can be invited to your account. It also includes the information of the activation key, the date of your account activation (activated at) and the end date of your activation (activation ends at).
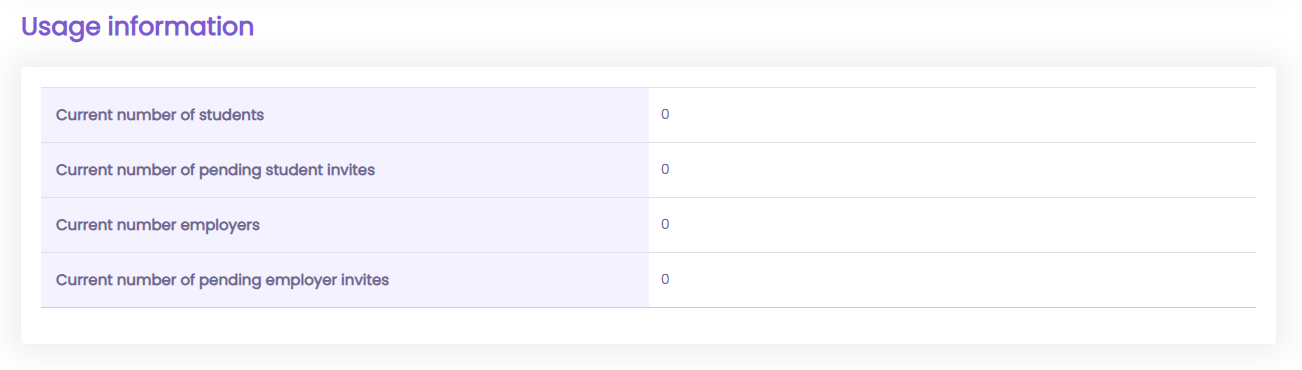
- Usage information: The table includes the information regarding the current number of registered students, the current number of pending setup invites of your students, the current number of employers and the current number of pending setup invites for your employers.
The tab “Setup invites” of your admin panel
The setup invite of your users can be individually sent from this tab. A setup invite is an email invitation sent to your user to create an account within your institution. This view includes the following tables:
- Create account setup invite:
The following information are requested for your invitation:
- The invite type: Student or Employer
- The user information: first name, last name, username, email address, password and password confirmation. Every time an invitation is sent, a user account is created with the provided information.
The invite includes a unique ID and a passcode (This passcode is different from the value of the password provided while creating the setup invite) that will be used by the user to set up his/her account.
- Resend setup invite:
Any pending setup invitation can be resent from this tab. An invitation is pending when the user has not created an account following your setup invitation.
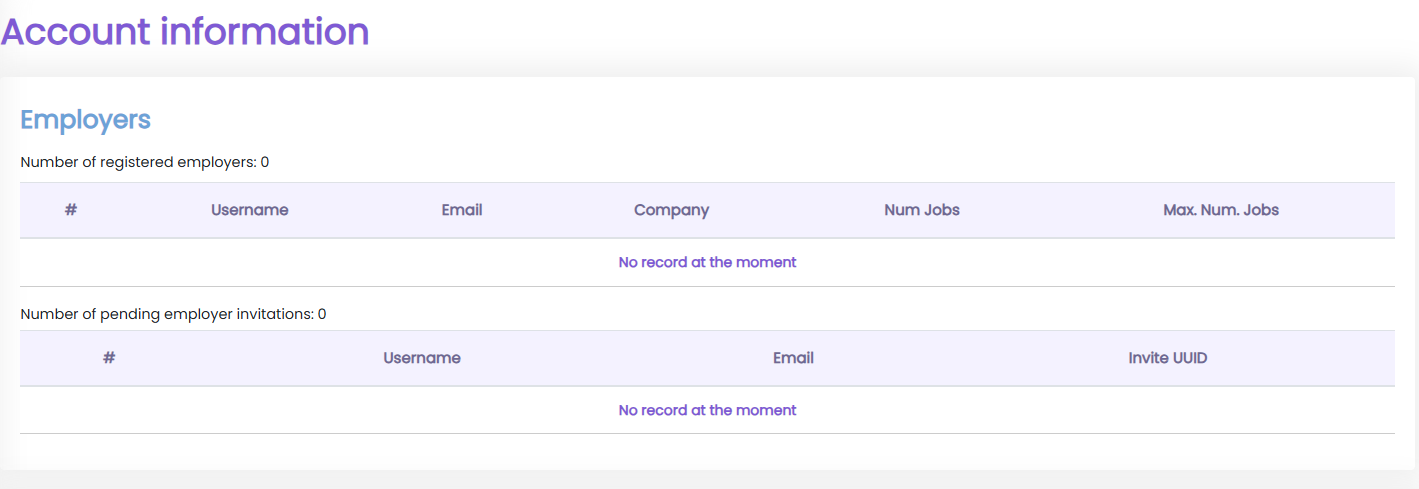
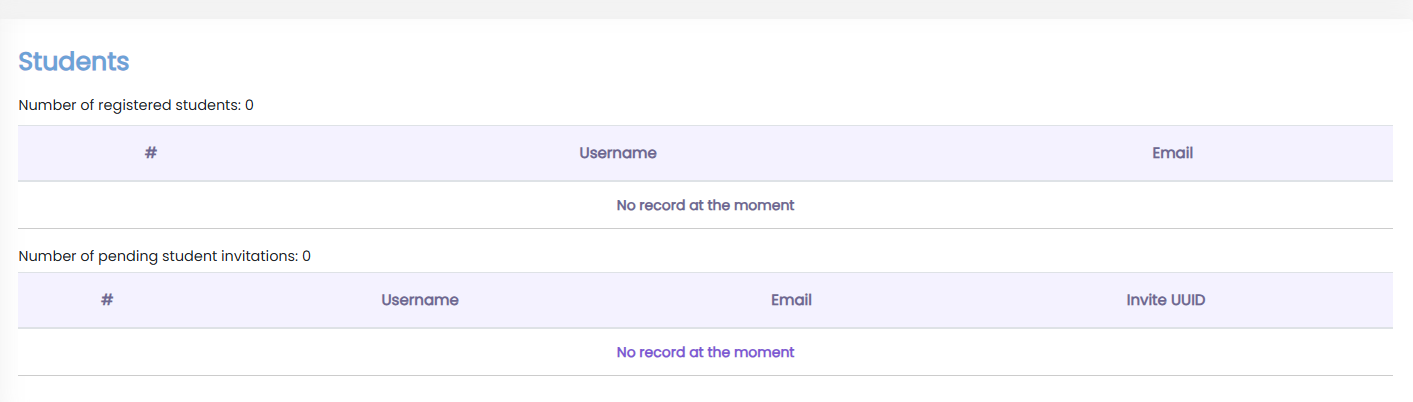
The tab “Account” of your admin panel
The information regarding the registered employers and the registered students can be viewed and managed directly from this tab. The section “Employers” includes the information of the registered employers and the section “Students” includes the information of the registered students.
- Employer information
- Student information
The tab “Students” of your admin panel
Your students can be added through a .csv file from the section “Add students”.
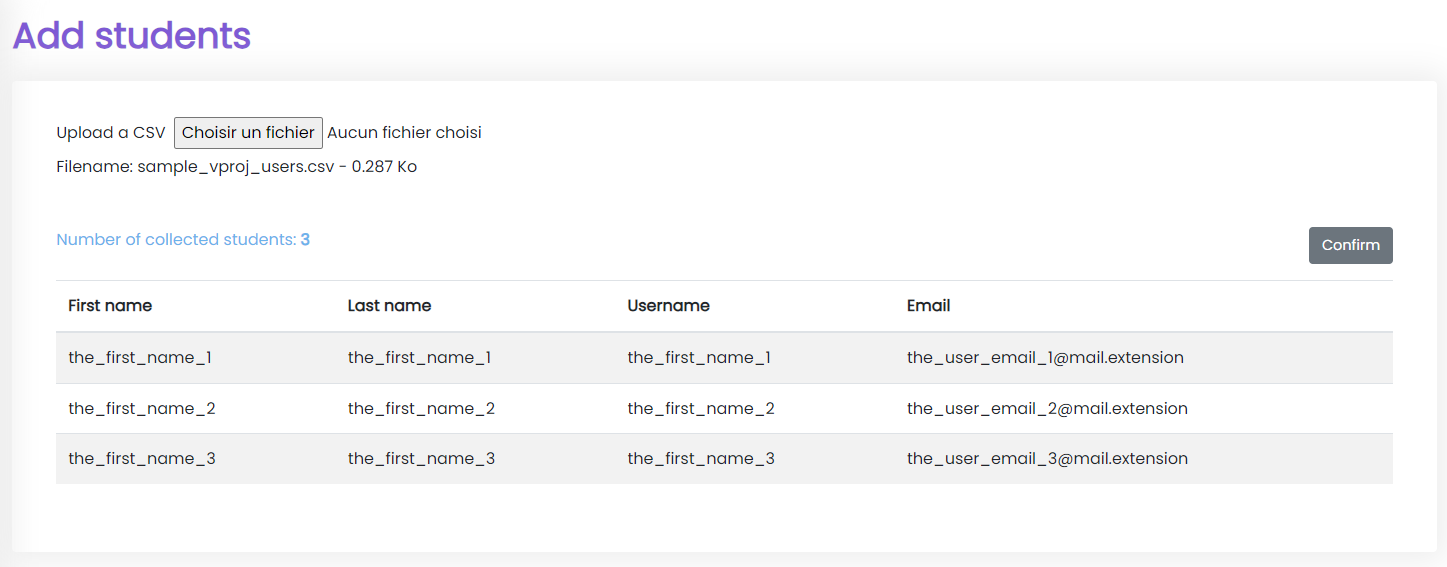
- The .csv file must follow this format:
| first_name | last_name | username | |
|---|---|---|---|
| data1 | data2 | data3 | data4 |
- No space must be added between the data of your CSV.
- Once you click on the button ‘confirm’, the account setup invites will be sent to the provided list of students.
The tab “Forum” of your admin panel
The channels of the forum as well as the thread settings can be updated from this view.
Update a channel: An existing forum channel can be updated from this table. The supported languages are English, French.
Create a channel: A forum channel can be created from this tab. When a channel is created, you must also provide the corresponding translation in English or French. The value provided in the channel name field is used as the default content if no translation is provided.
Update a thread setting: The settings of the threads tied to your institution can be updated from that tab.
Add forum categories:
Your forum categories can be added through a .csv file from the section “Add forum categories”.
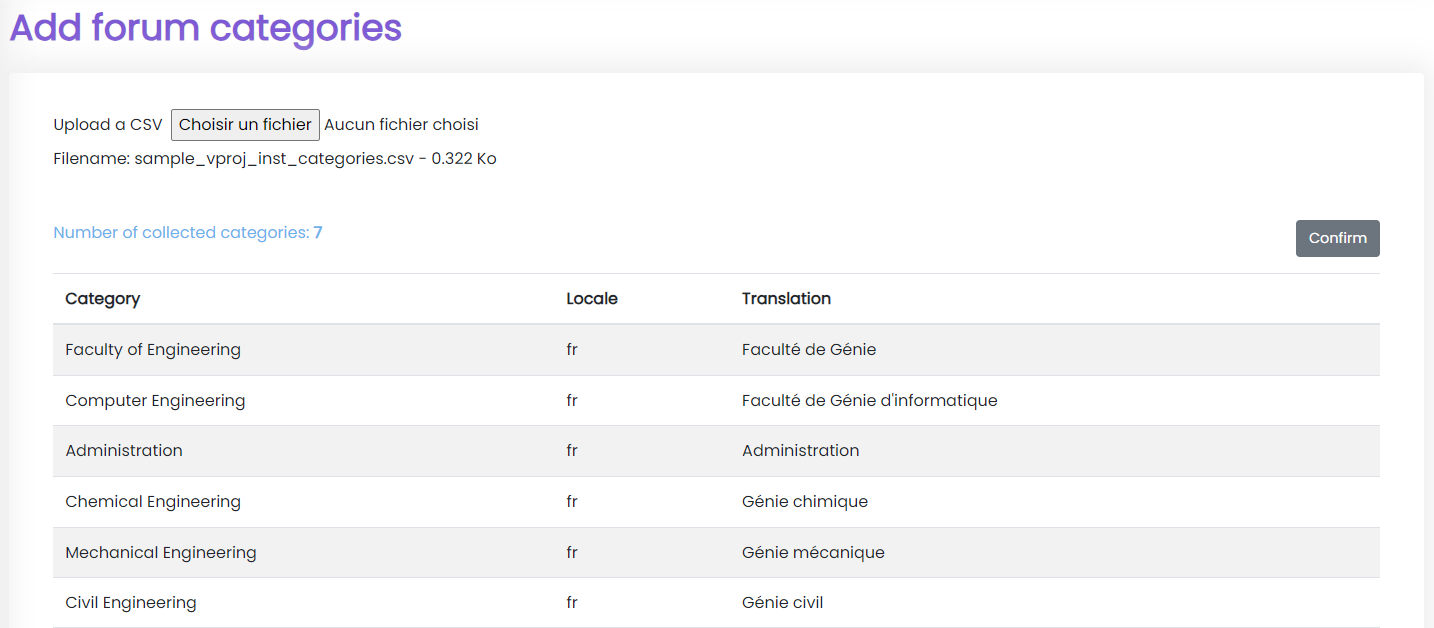
- The .csv file must follow this format:
| category | locale | translation |
|---|---|---|
| data1 | data2 | data3 |
No space must be added between the data of your CSV.
Once you click on the button ‘confirm’, the account setup invites will be sent to the provided list of students.
The tab “Project Categories” of your admin panel:
The categories of the projects tied to your vos-projets space can be added from this view.
Create a project category: A project category can be created from this tab. When a category is created you must also provide the corresponding translation. The channel name should be in English and the translation to French.
Update a project category: An existing forum category can be updated from this table. The supported languages are English or French.
Add Project Categories:
Your project categories can be added through a .csv file from the section “Add Project Categories”.

- The .csv file must follow this format:
| category | locale | translation |
|---|---|---|
| data1 | data2 | data3 |
No space must be added between the data of your CSV.
Once you click on the button ‘confirm’, the account setup invites will be sent to the provided list of students.
When adding a project category through a CSV you can only specify one locale per provided category. That is to say that if you were to add the category “Faculty of Engineering” in your vos-projets space, the column “locale” would only have one of the valid locales “fr” as shown in the below image:
Note that the column Category must default to English.

The tab “Settings” of your admin panel
The logo of your institution, the image used for your login page and the image of your forum header can be updated from this view.
- The provided forum header image will appear on your forum behind the search bar:

- The provided institution logo is used as your logo across your space and appears on your login page along with the provided login page image as shown below:
- Our logo in the above image is replaced with the provided images as shown below:

Pricing
- We give you an activation key that is set to be valid for one year.
- As a free trial, you can request an activation key that will be valid for 6 months. This free activation key allows you to add 5000 students and 100 employers to your account.
- You are charged based on the number of students and the number of employers that are expected to be invited within your institution.
- The following table shows you the unit price that we have set for the students and the employers:
Universities and Colleges
| Student | Employer |
|---|---|
| 4.8 CAD | 5 CAD |
- The following values can be combined and ordered with your activation key
| Students | Employers |
|---|---|
| 2 500 | 25 |
| 5 000 | 50 |
| 10 000 | 100 |
| 50 000 | 500 |
| 100 000 | 1 000 |
| 500 000 | 5 000 |
| 1 000 000 | 10 000 |